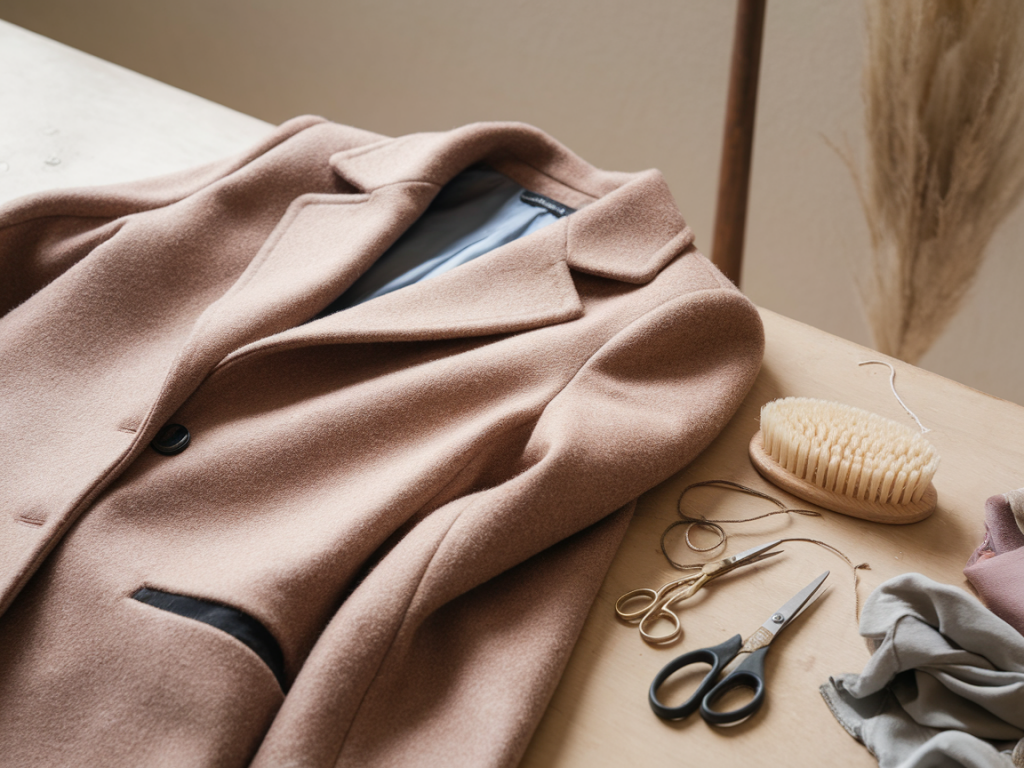
I once inherited a beloved vintage wool coat that had seen better days: stretched shoulders, flattened collar, a few small moth holes and a lining that was starting to give way. Instead of consigning it to the charity pile, I decided to repair and reshape it at home. The result? A coat that looks almost new and, more importantly, feels like mine again. If you love a good piece of outerwear, I’ll walk you through the practical steps I use to revive wool coats—no professional tailor required (though I’ll point out when a pro is the better option).
Why bother repairing a wool coat at home?
Wool coats are an investment: they’re warm, timeless and often made from materials that deserve to last. Repairing and reshaping extends the life of a piece, keeps it out of landfill and saves you money. Plus, it's strangely satisfying. Whether you're dealing with pilling, sagging shoulders, lost structure or small holes, many fixes are straightforward once you know the right tools and techniques.
Common problems and quick answers
People usually ask me the same few questions. Here are short answers before we dive deeper:
Tools and materials you’ll need
| Item | Purpose |
|---|---|
| Soft clothes brush | Remove surface dust and restore nap |
| Fabric shaver / sweater comb | Remove pilling |
| Steam iron or handheld steamer | Relax fibres and reshape |
| Needle & wool/strong thread | Hand-sewing repairs and darning |
| Interfacing / lightweight canvas | Rebuild collar and shoulder structure |
| Tailor’s chalk, pins, seam ripper | Alterations and lining repairs |
| Fabric glue / iron-on patches | Quick invisible patches for small holes |
Step-by-step: clean and prepare
First things first—start with a clean coat. Dust and tiny fibres obscure damage and make repairs harder.
De-pill and refresh the nap
Pilling is cosmetic but can age a coat considerably. I prefer a battery fabric shaver for large areas and a sweater comb for delicate spots. Work gently—pressing too hard thins the fabric. Follow up with a steam treatment: a handheld steamer (I use a mid-range model from Rowenta) lifts the fibres and revives the nap beautifully.
Reshape shoulders and collar
Shoulders:
Collar:
Repair holes and torn linings
Small holes from moths or wear can be mended invisibly with darning or an iron-on patch hidden on the inside. For tiny holes I:
Linings:
Buttons, seams and final tailoring
Replace missing buttons with similar vintage finds or choose new ones that complement the coat. Reinforce weak buttonholes with a few stitches of strong thread. For seams that are splitting, a simple hand backstitch will secure them; for long seams, use a sewing machine or take it to a tailor.
Blocking and final finish
Blocking is the secret to a crisp, tailored look. On a padded hanger or a mannequin, steam the whole coat and shape it with your hands—smooth the lapels, set the shoulder line, and pin any areas as they cool to hold the shape. Finish by brushing again to restore the nap. Hang the coat in a breathable garment bag—avoid plastic which traps moisture.
When to see a professional
Take it to a tailor if the coat needs full relining, major structural rebuilding, or if you’re uncomfortable with complex stitching. Tailors can recreate shoulder canvas, re-cut sleeve heads and match fabrics precisely; for high-value or sentimental pieces, the cost is often worth it.
Repairing and reshaping a wool coat at home is hugely rewarding: I’ve rescued coats that now look polished and fit better than they did straight off the rail. With a little patience, the right tools and a steady hand, you can keep your winter staples going for years—sustainable, economical and stylish.